The three enemies: heat, humidity and light
Heat speeds up every chemical reaction that ages a photograph. Fading, yellowing and the breakdown of color dyes all happen faster in a warm place.
Humidity makes the image layer swell and shrink, which leads to cracking, and above roughly 60 percent relative humidity mold can grow. Very dry air, on the other hand, makes prints brittle.
Light, especially sunlight, fades both black and white and color prints. A photo displayed on a sunny wall for twenty years can lose most of its contrast.
Conservation guidance, such as the Library of Congress advice on caring for photographs, comes down to the same thing: cool, dry, dark and stable. In a home, that means a closet in the main living area, not the attic, the basement or the garage. Room temperature, kept steady, and a relative humidity around 30 to 50 percent is a good target.
What to store photos in
- Archival boxes labeled acid free and lignin free. Shoe boxes and old cardboard boxes are acidic and slowly yellow what they hold.
- Sleeves and pages made of polyester, polypropylene or polyethylene. These plastics are stable. Avoid PVC (vinyl), which gives off chemicals that damage photos; it often has a strong plastic smell.
- Paper envelopes that are acid free, for photos that are curled or fragile.
- Look for the PAT label where you can. The Photographic Activity Test is a standard check that a storage material is safe for photos.
Store prints flat or upright and snug in a box, so they do not slide, curl or bend. Keep different sizes in separate folders so small photos are not crushed by large ones.
What to avoid
Magnetic albums. The self stick albums with a clear plastic sheet over a tacky page were everywhere from the 1970s through the 1990s. The adhesive yellows, the plastic gives off gases and, over time, the photos bond to the page. If photos lift off easily, move them. If they resist, do not force them: photograph the page as it is and leave the prints in place.
Tape, glue and rubber bands. All of them stain and damage prints. Use archival photo corners if you want to mount a photo.
Paper clips and staples. They rust and leave marks.
Writing on the front, or with a ballpoint pen on the back. Pen ink bleeds through and pressure leaves dents on the front.
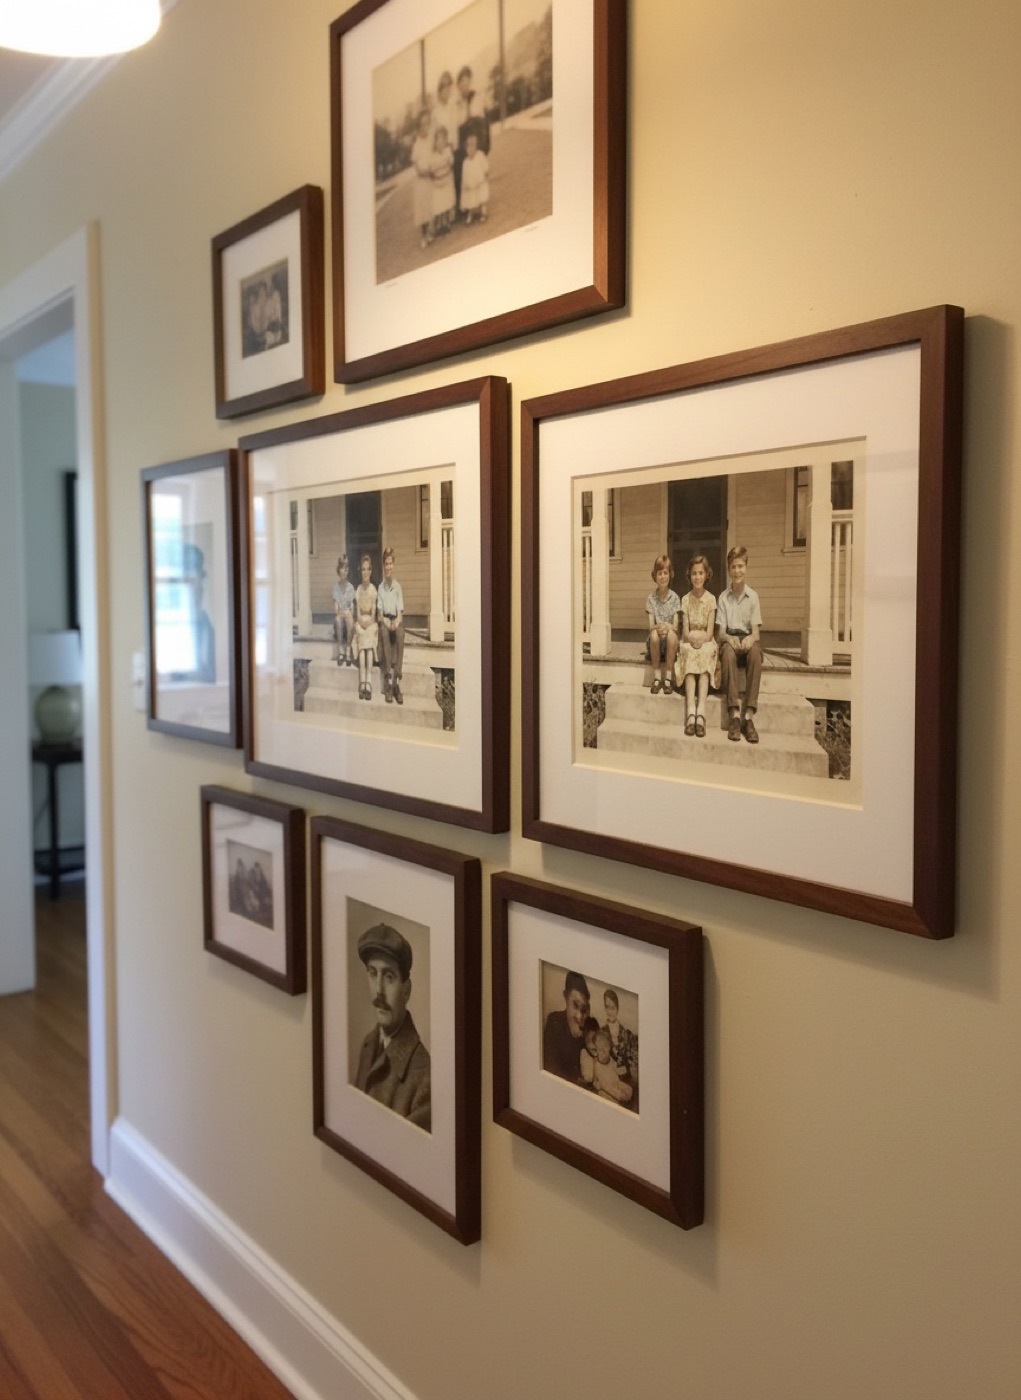
Frames in the sun. If you want an old photo on the wall, frame a restored print instead and keep the original in a box.
Labeling for the next generation
The most common regret about family photos is not damage; it is not knowing who is in them. While someone still remembers, write down names, places and approximate dates.
- Write on the back, near the edge, with a soft graphite pencil and light pressure.
- For glossy or plastic coated papers, which pencil will not mark, write on the sleeve or envelope instead.
- Keep a simple list or spreadsheet that matches photos to their names and notes.
Digitize, then store
A digital copy protects the picture even if the print is lost or damaged. Scan or photograph the most important photos first, name the files with what you know, and keep copies in at least two places. Our scanning guide shows how to copy prints with a phone. With a good copy in hand, the original can go into dark storage, and restored prints can go on the wall and to relatives.
Special cases
Photos that already got wet, or that live in a damp place, need attention first; see our water damaged photos guide.
Faded photos will not recover in storage, but good storage stops them fading further. Our faded photos guide explains what restoration can bring back.
Tintypes and cased images need their own care: keep them flat, dry and away from moisture, since tintypes rust. The tintype guide covers them.
Send a scan or a phone photo of the print. See the restored result before you pay.
Restore a photoUpdated October 8, 2026